I confess - I still love reading wedding blogs and perusing wedding-related websites. It's been almost a year since my wedding, but I still haven't let go of admiring all of the whimsical ideas that vendors, designers, and brides-to-be have. It's so fun!
iDIY recently posted some really cute printable invitations...free for anyone to download! Though mostly intended for weddings, they can easily be customized for bridal showers, birthday party invitations, or whatver else you want. I wish this was available when I was doing my planning! Oh well...I guess I can still use them for birth announcements :)
Stylish, simple, vintage-inspired finds, DIY ideas, and general musings from a working mom prone to daydreaming.
Showing posts with label DIY. Show all posts
Thursday, April 22, 2010
Wednesday, January 20, 2010
DIY project inventory list
I've been noticing some really fun and whimisical DIY/crafting ideas and thought I'd share them in a post dedicated to future projects I hope to undertake:
DIY crocheted-flower bunting from Project Nursey:
Awesome but labor-intensive DIY felt wreath from Domestic Fluff:
DIY flower garland from Once Wed:
DIY birdcages from The Brides Cafe:
DIY silverware chandelier from Apartment Therapy:
(check out the $4500 version at Anthropologie)
Wednesday, December 30, 2009
Paper project - DIY bows
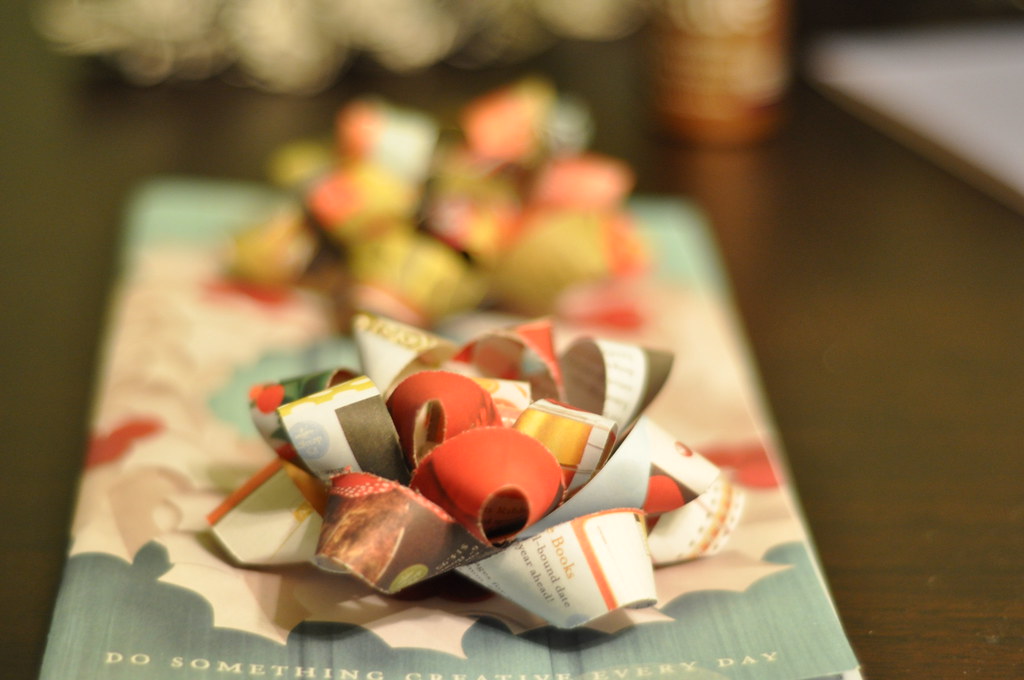
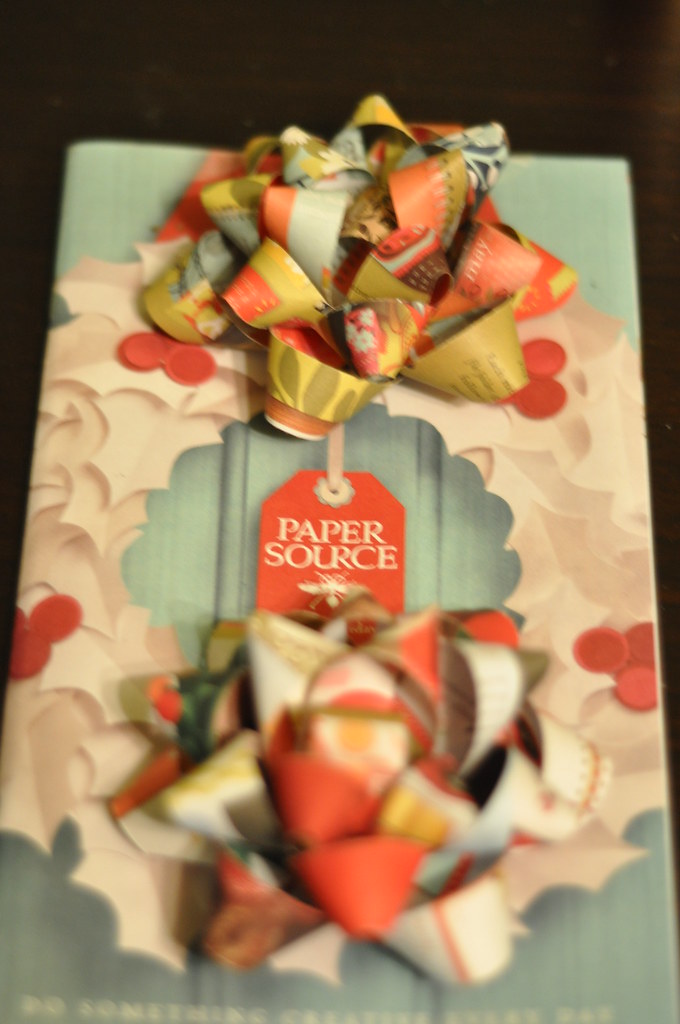
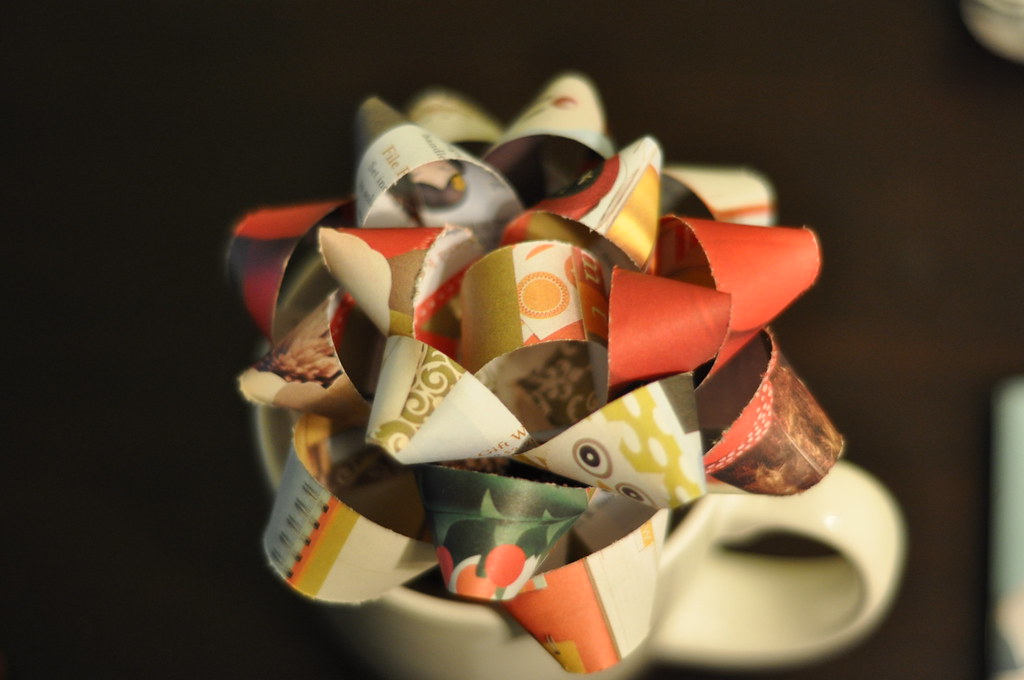
This gift bow tutorial from How About Orange came in handy this Christmas to create some pretty and unique bows for many a holiday gift.
Experimenting with different types of magazines and catalogs (it wouldn't be as fun or as eco-friendly with regular paper, IMO), I found that the prettiest bows are made using...
The variety of colors in the catalog and the stiffness of the paper stock itself is perfect for this project, which you can do even while watching TV. Save them up to use to wrap gifts all throughout the year, and never buy another pre-fabricated plastic-y bow in the store ever again!
Experimenting with different types of magazines and catalogs (it wouldn't be as fun or as eco-friendly with regular paper, IMO), I found that the prettiest bows are made using...
Paper Source catalogs!
The variety of colors in the catalog and the stiffness of the paper stock itself is perfect for this project, which you can do even while watching TV. Save them up to use to wrap gifts all throughout the year, and never buy another pre-fabricated plastic-y bow in the store ever again!
Wednesday, December 16, 2009
DIY pom pom failure
Maybe I'm not following instructions. Maybe I'm using the wrong kind of tissue paper. Or maybe I'm just not a crafty person.
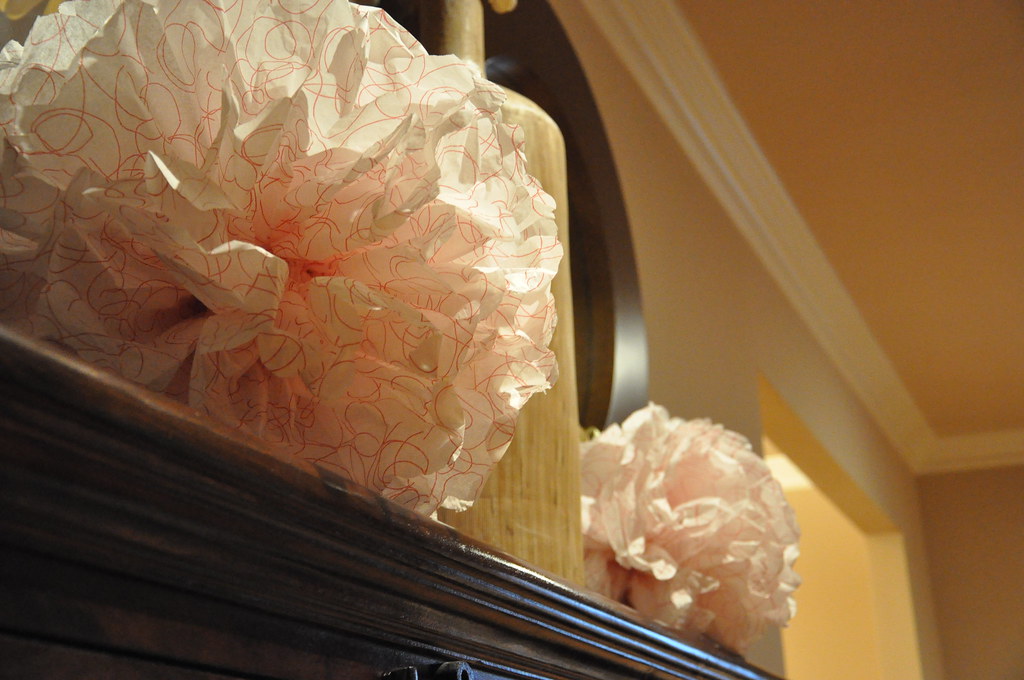
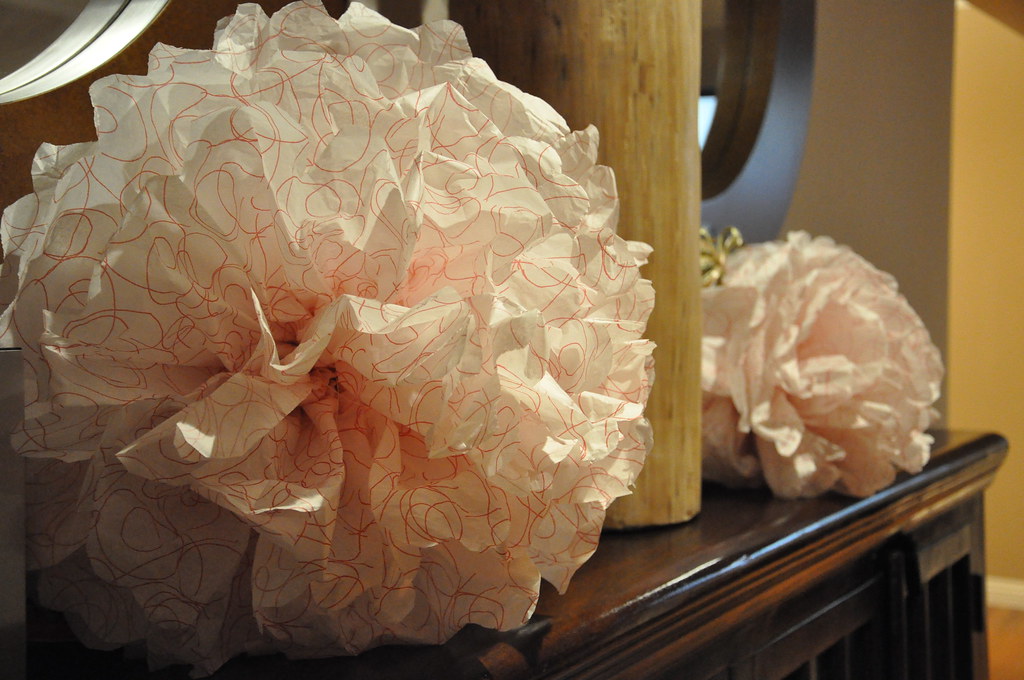
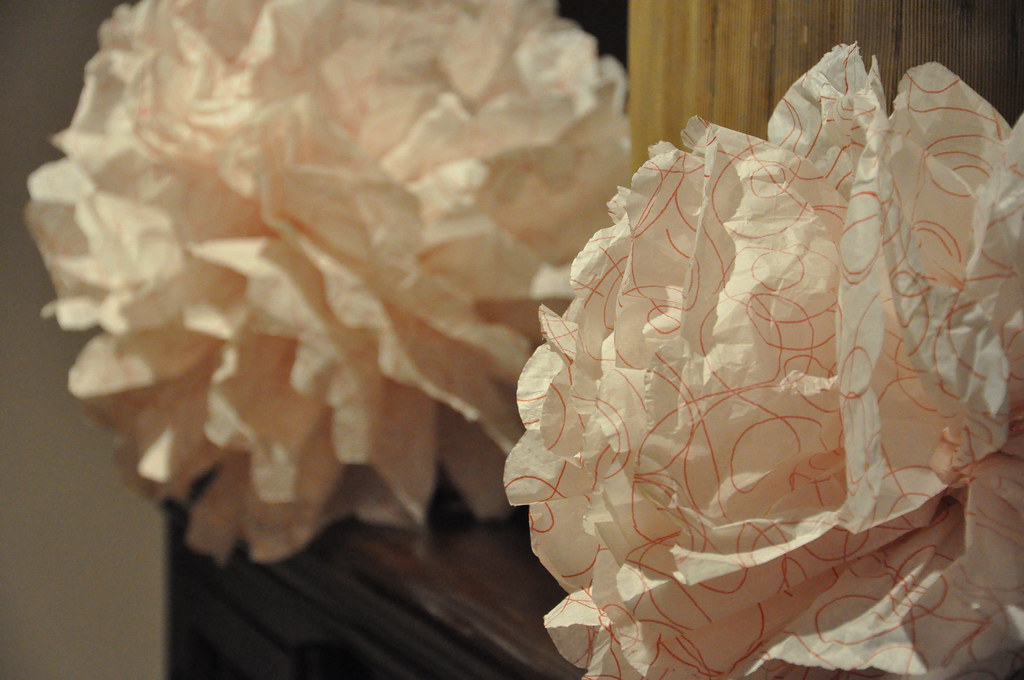
Whatever the case, I attempted to create some DIY pom poms like the ones I've seen on Martha Stewart's and others' websites. Since they required little in the way of materials, skill, or time, I thought this was the perfect project for me.
In order to be sustainable, I reused some anthropologie tissue paper I had saved. The result was something that looked rather...sad.
Whatever the case, I attempted to create some DIY pom poms like the ones I've seen on Martha Stewart's and others' websites. Since they required little in the way of materials, skill, or time, I thought this was the perfect project for me.
In order to be sustainable, I reused some anthropologie tissue paper I had saved. The result was something that looked rather...sad.
The pictures above that I took don't look TOO bad because I tried using flattering angles/lighting. In reality, they sort of look like blooming cabbages. Or some sort of albino vegetable with red veins.
Maybe using recycled tissue paper was the mistake. I looked at several different sets of instructions from Martha's to other crafters' blogs. I do have this theory though that Martha's instructions are purposely a little off to get people frustrated, subsequently leading them to buy her premade craft projects instead.
Argh!
Tuesday, December 15, 2009
Go crazy with printable moustaches
The Inspired Bride has a post on some quirky printable moustaches for all your nefarious holiday (and post-holiday) shennanigans! See the full post, complete with PDFs and instructions, here.
I'm having family over for Christmas lunch and plan to make everyone take silly moustache photos then, heehee.
Sunday, December 6, 2009
Kusudama balls as wedding decor
I love the clean, elegant look of kusudama balls, and decided to forgo flowers for our wedding ceremony aisle decor and use these instead.
Initially, I was totally psyched and ordered several sheets of blue and silver mulberry paper, excited to get started on this project. Can you believe it took me about 6 months to make 12 balls? Let's see...5 petals per flower times 6 flowers per ball times twelve balls...okay, makes sense. I'm pretty flaky when it comes to crafting, but even with every spare minute dedicated to cutting the paper to size, folding, and gluing, it felt like a neverending task. Even with the help of one of my bridesmaids, it was still pretty daunting.
After the wedding, I managed to find and keep 3 of them, which are now hanging from a lamp in our office. I have no idea what happened to the rest.
Initially, I was totally psyched and ordered several sheets of blue and silver mulberry paper, excited to get started on this project. Can you believe it took me about 6 months to make 12 balls? Let's see...5 petals per flower times 6 flowers per ball times twelve balls...okay, makes sense. I'm pretty flaky when it comes to crafting, but even with every spare minute dedicated to cutting the paper to size, folding, and gluing, it felt like a neverending task. Even with the help of one of my bridesmaids, it was still pretty daunting.
After the wedding, I managed to find and keep 3 of them, which are now hanging from a lamp in our office. I have no idea what happened to the rest.
Thursday, December 3, 2009
DIY mini-magazine holder
I've seen several DIY magazine holder tutorials online. Since I had some time last night, I decided to create a holder for my Martha Stewart Food magazines, which are smaller than the average size periodical.
A family size cereal box proved to be perfect for this quick project:
I measured about 3" on the shortest side, up to 7" on the tallest
Then cut along the lines using a craft knife
Here's what it looked like after cutting
The trickiest part was covering the box with patterned paper. Other sites recommended using fabric, but since I didn't have any I liked for this project, I ended up going with a Wooster & Prince paper I had on hand.
I ended up just tracing each side of the box on the back of the paper, cutting out each piece with about a quarter inch allowance, and then gluing them in place with a glue gun.
Here's the finished product:
Easy peasy! Now I just have to actually start cooking some of the recipies in these magazines...
Monday, October 26, 2009
That's Sew LA!
Sew LA offers classes for students of various levels, including private lessons, but they also have a great selection of really cute fabric, plus supplies and books. I'm gonna have to check this place out soon! They actually have a class on making vintage aprons...
Friday, October 23, 2009
What to do with fabric flowers...
I'm thinking either headband, necklace, or embellishment for a shirt.
Tuesday, October 20, 2009
Details: Semi-DIY skirt to apron project
Okay, so here's what ya'll been waiting for...my instructions for converting a skirt into an apron!
This is my first tutorial, so please bear with me if some instructions are totally obvious.
Step 1: find an old skirt, knee length or a couple of inches shorter, to start with. Mine was a cute retro-inspired one from Red Dress Shoppe that's a bit too pink and floral for my tastes now.
Step 2: Take your skirt and lay frontside down, and cut out the back of the skirt. I left about 4 inches on each side (sorry no picture of this!). Set this piece aside, as it'll be used later!
Step 3: Take about 1/2" on the left and right edge, pin, and iron down.
Step 4: With a sewing machine, sew the hems on each side of the skirt, then remove the pins. I just used a basic running (?) stitch with white thread.
Step 5: Take the piece of fabric you cut from the back of the skirt, and cut two 4" strips from each piece. Fold in half wrongside out, pin, and iron. Sew around bottom and side edges, then turn inside out. These are going to be the apron ties.
Step 6: Pin the apron tie to the inside of the top edge of the apron skirt and sew. I made two parallel running stitches to make sure that the tie was securely attached to the apron skirt. Repeat on other side of the apron.
inside of apron
what it looks like from the front (sorry my stitches suck)
That's it! Now, try on your apron and see how it looks!
What's sad is that as simple as this project was, it still took me several days to finish since I'd only work on it an hour or so every few days. And as you saw, my sewing skills are pretty depressing. Hopefully I'll get the hang of it soon and start creating Etsy-quality items soon!
Friday, October 16, 2009
Semi-DIY: turn a skirt into an apron
I love the idea of crafting and creating cute, functional items. But the reality is, I'm terrible at DIY projects. Horrible. Undisciplined. Impatient. Easily distracted.
So I'm trying to start off slowly, by doing easy projects that don't require complicated steps or extensive preparation time. Have you seen that show "Semi-Homemade" on the Food Network, where the host take something like 75% store-bought items and combines them with 25% fresh ingredients to create something that emulates homemade goodness? Well, my version of this is "Semi-DIY: Even You Can't Mess This Up." This involves taking already made items, applying a little bit cutting, tearing, gluing, and sewing to create something that you can pretend was entirely handmade. You can stay quiet on the details and bask in praise from others when you proudly show off your finished product.
My first project was a flower headband made from an old shirt, which turned out okay, actually. Current project is an apron made from a skirt. Since this involved a sewing machine, it was more complicated and maddening (especially since I haven't used one in ages). It's still in the works...after more than a week. I'll post pictures soon!
So I'm trying to start off slowly, by doing easy projects that don't require complicated steps or extensive preparation time. Have you seen that show "Semi-Homemade" on the Food Network, where the host take something like 75% store-bought items and combines them with 25% fresh ingredients to create something that emulates homemade goodness? Well, my version of this is "Semi-DIY: Even You Can't Mess This Up." This involves taking already made items, applying a little bit cutting, tearing, gluing, and sewing to create something that you can pretend was entirely handmade. You can stay quiet on the details and bask in praise from others when you proudly show off your finished product.
My first project was a flower headband made from an old shirt, which turned out okay, actually. Current project is an apron made from a skirt. Since this involved a sewing machine, it was more complicated and maddening (especially since I haven't used one in ages). It's still in the works...after more than a week. I'll post pictures soon!
Subscribe to:
Posts (Atom)